Continuous Deployment of React App to AWS EC2 with Bitbucket-Pipelines
- General
Continuous Deployment of React App to AWS EC2 with Bitbucket-Pipelines
It is an automated process i.e. deploy an application on AWS EC2 Instance every time when you push the code in application bitbucket repository. This can be achieved by combining a couple of very usefool tools like AWS CodeDeploy and Bitbucket Pipelines.
AWS Console
Login in AWS console with registered email i.e. with the root.
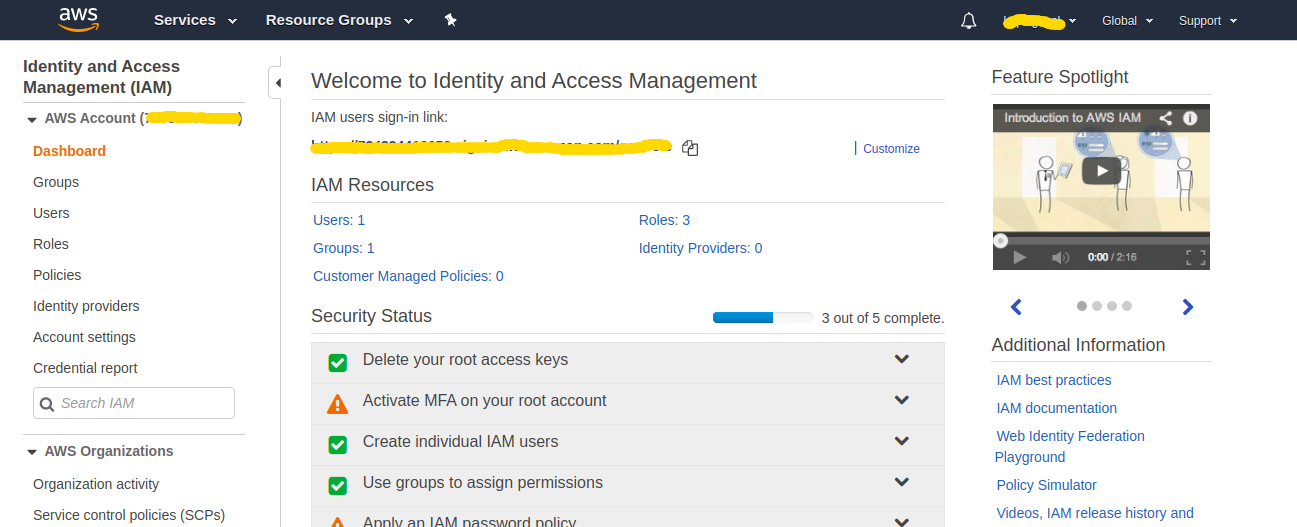
IAM Group
First create IAM group with AmazonS3FullAccess and AWSCodeDeployFullAccess permissions.
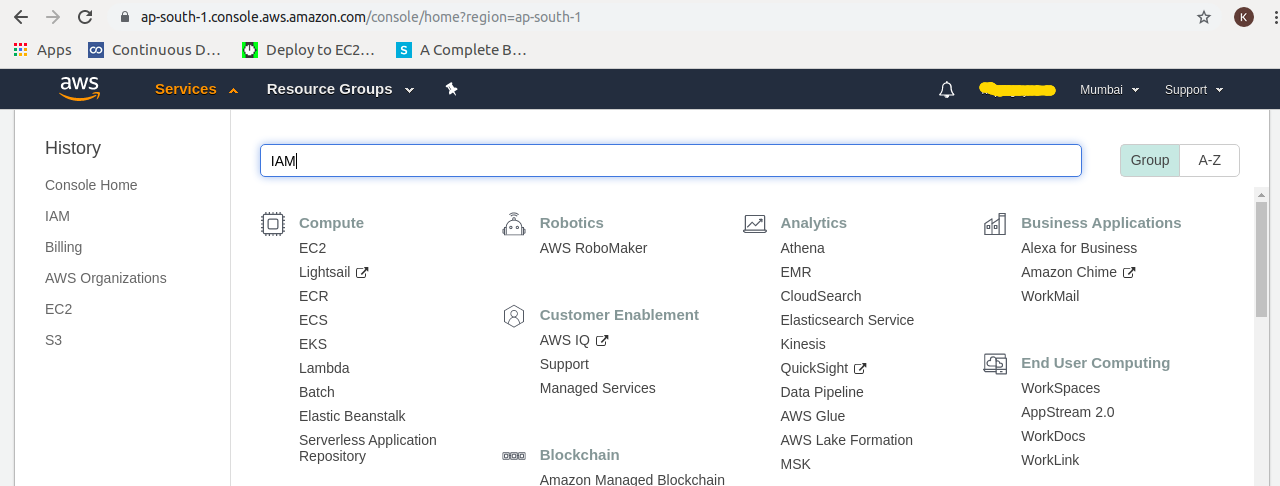
Step1: In AWS console, from services search IAM and goto IAM console
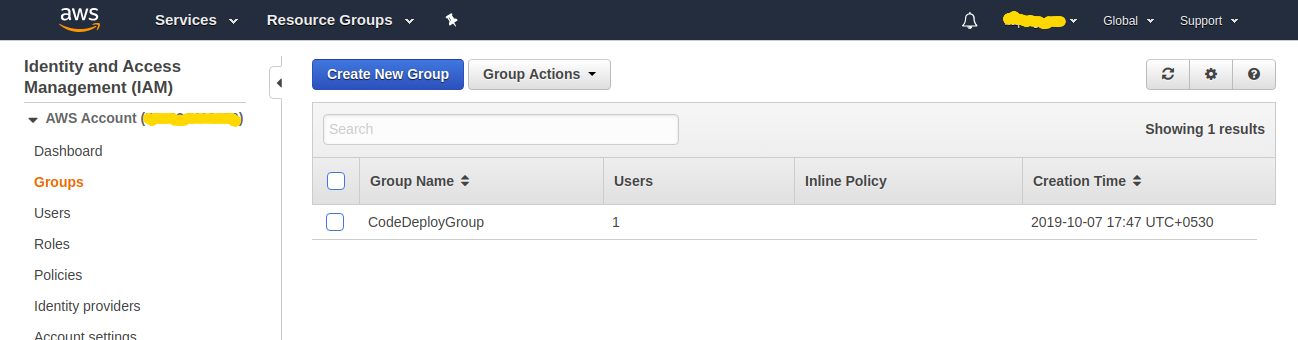
Step2: Goto Groups by clicking Groups in left navigation panel.
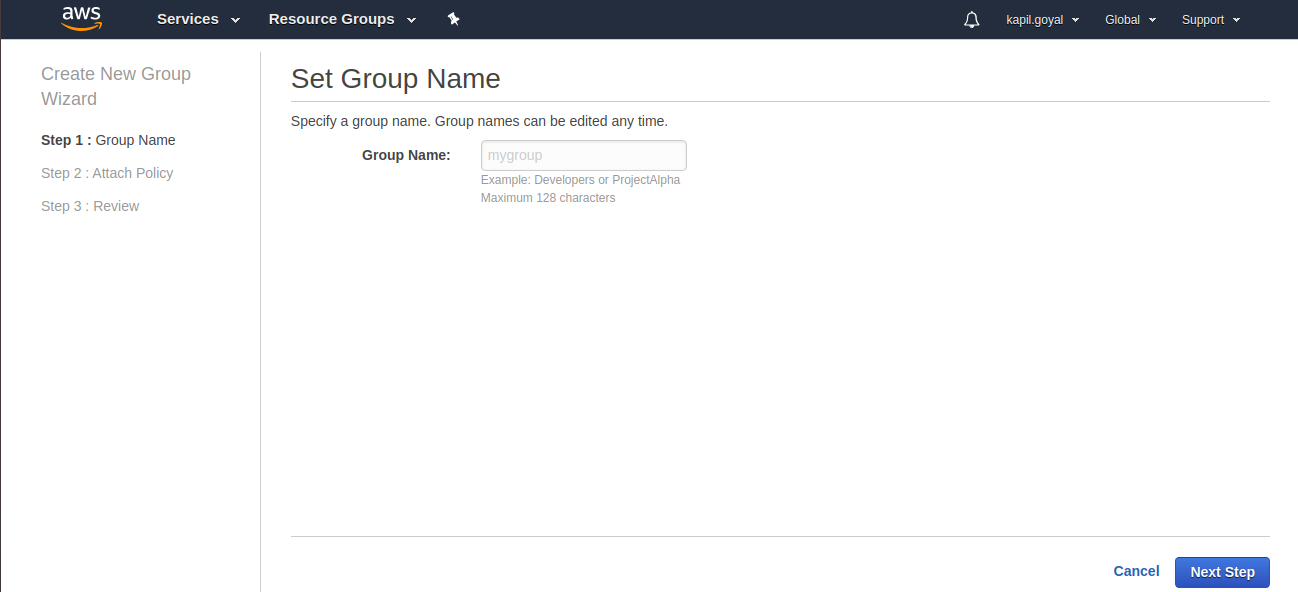
Step3: Click on Create New Group, wizard will be open.
Step4: Enter Group Name (I have entered TestDeployGroup), click on Next Step.
Step5: Allow AmazonS3FullAccess and AWSCodeDeployFullAccess permissions by selecting them and click on Next Step.
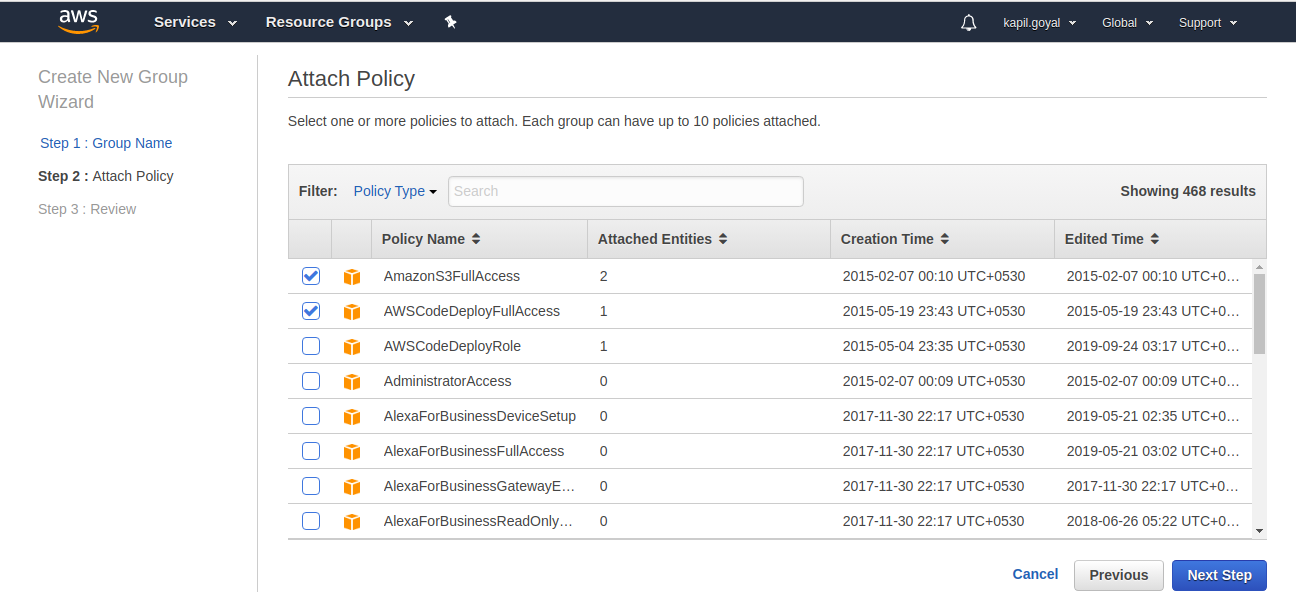
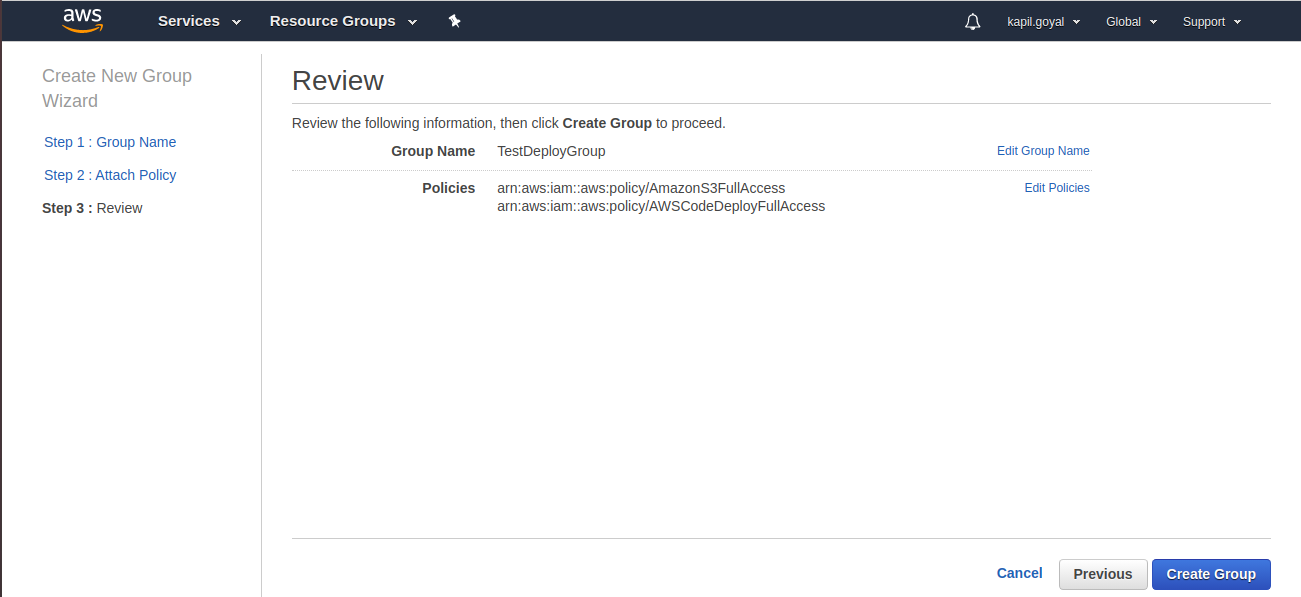
Step6: Now review tab will open. Here are you can review the group information and now click on Create Group.
IAM User
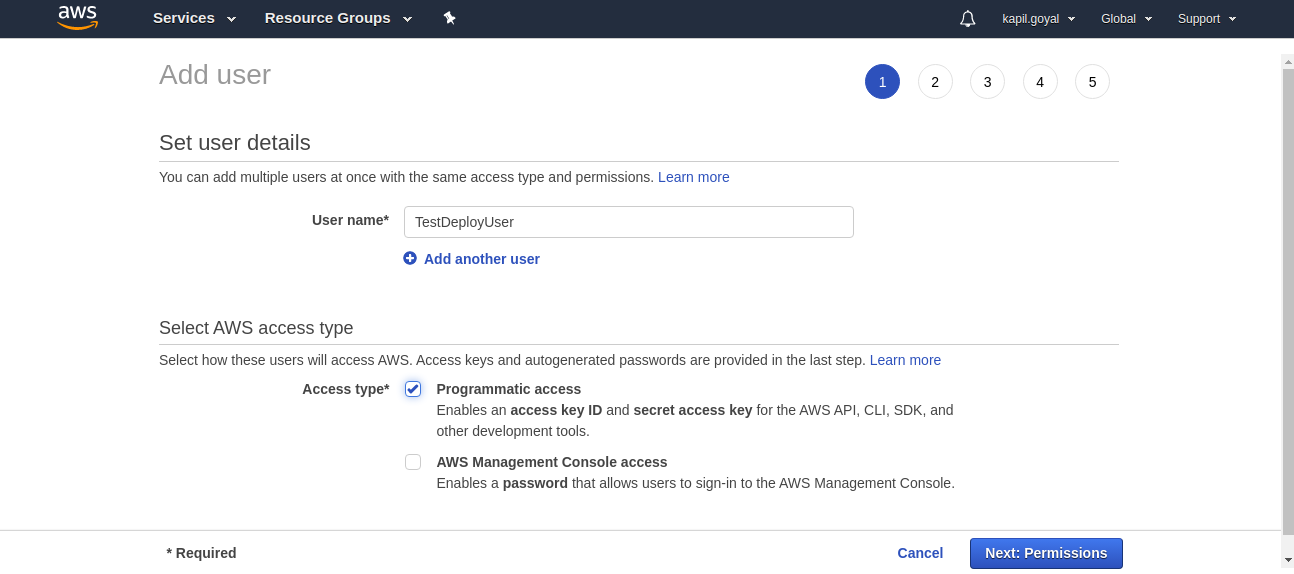
Now create IAM user that Bitbucket can use to upload artifacts to S3 and inform CodeDeploy that a new revision is ready to be deployed.

Step1: Goto Users from left navigation panel and click on Add User.
Step2: Enter User name (I have enter TestDeployUser) and select Programmatic Access from AWS access type and click on Next: Permission.
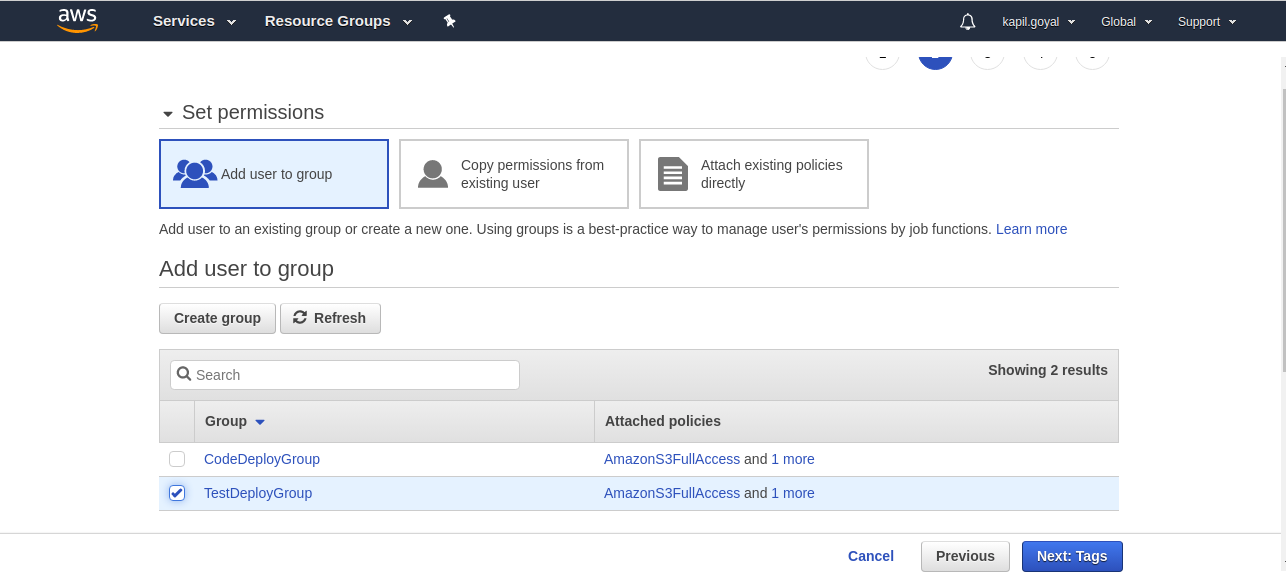
Step3: Now select IAM group that you have created earlier (I have selected TestDeployGroup) and click on Next: Tags.
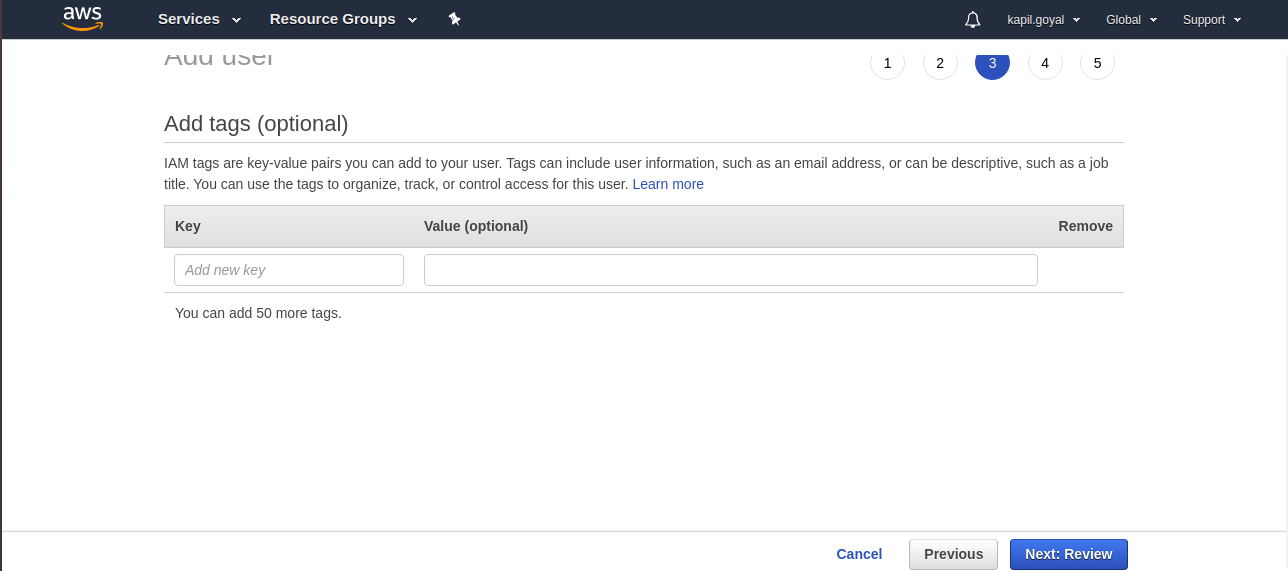
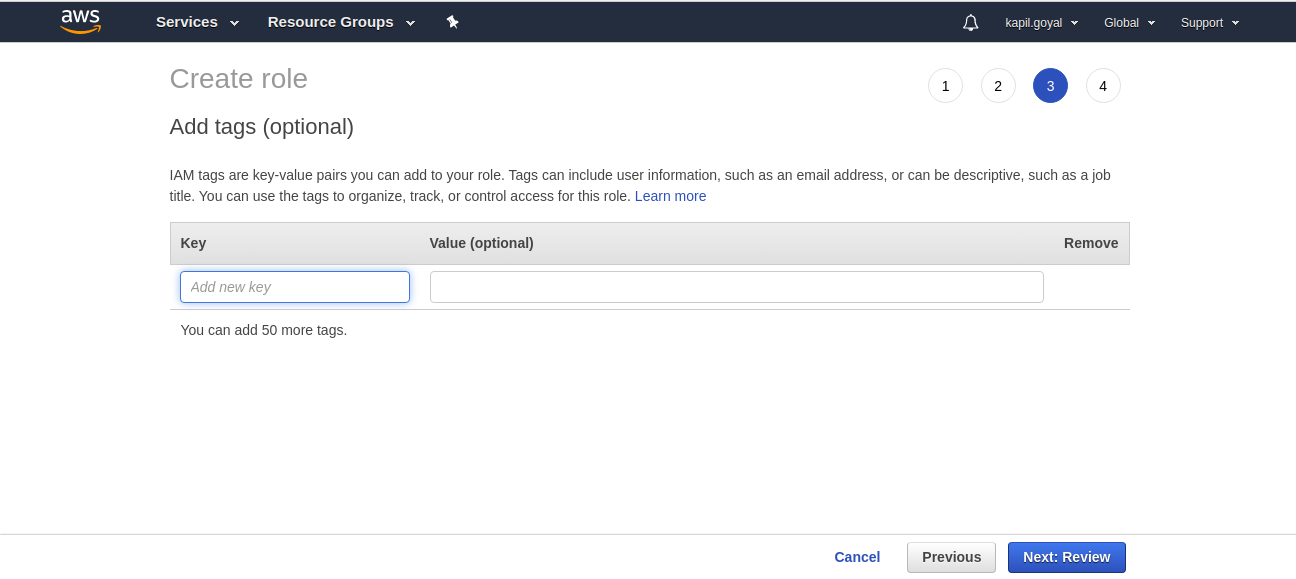
Step4: For now no tags require and click on Next: Review.
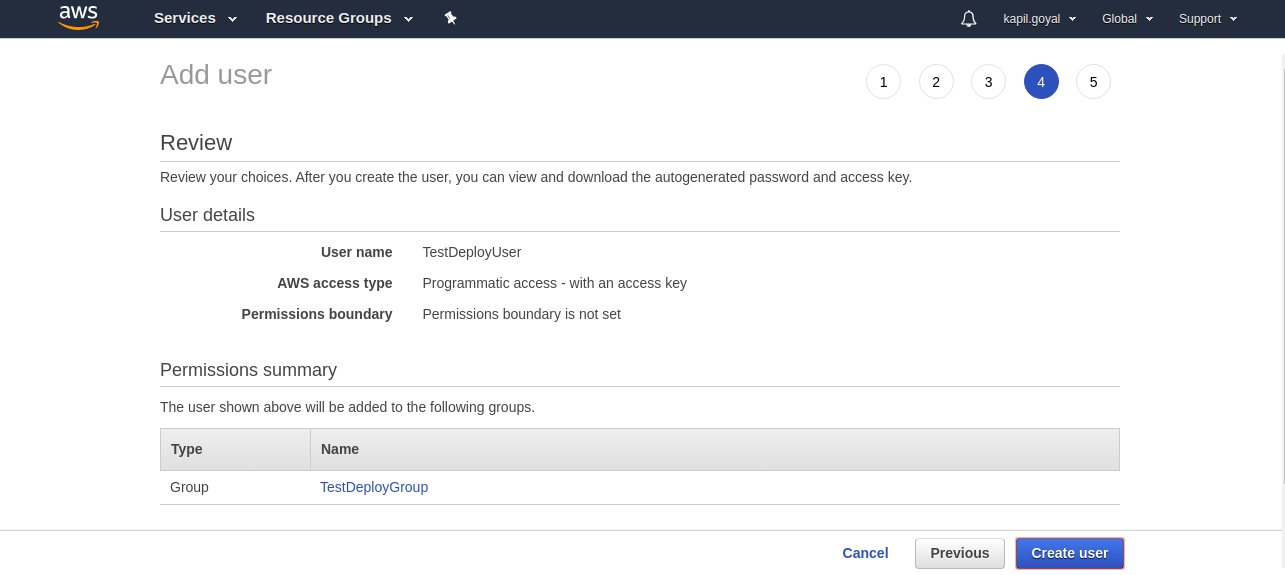
Step5: Now review section will open. You can review the user’s information, if information is correct click on Create User.
Step6: You will get success screen where can see the user’s Access Key ID and secret access key. Make note this information. It will be required later.
IAM Role
Now create IAM role that can be associated to EC2 instances and interact with CodeDeploy.
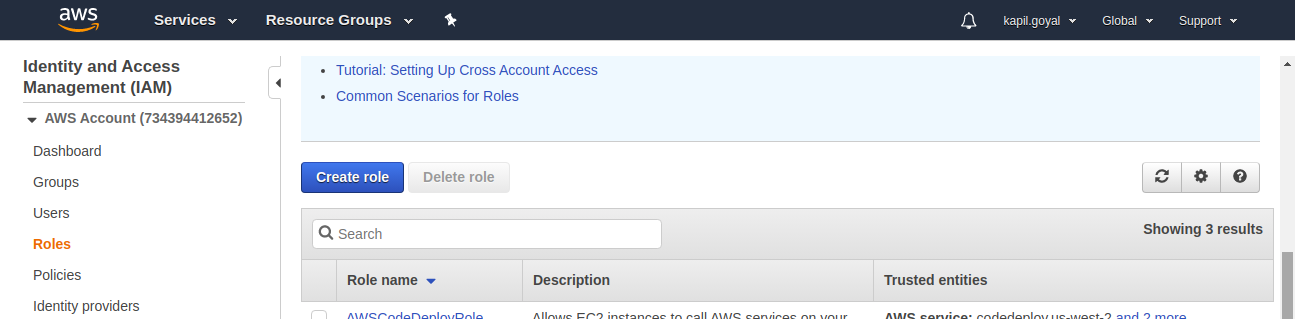
Step1: Goto Roles from left navigation panel and click on Create Role.
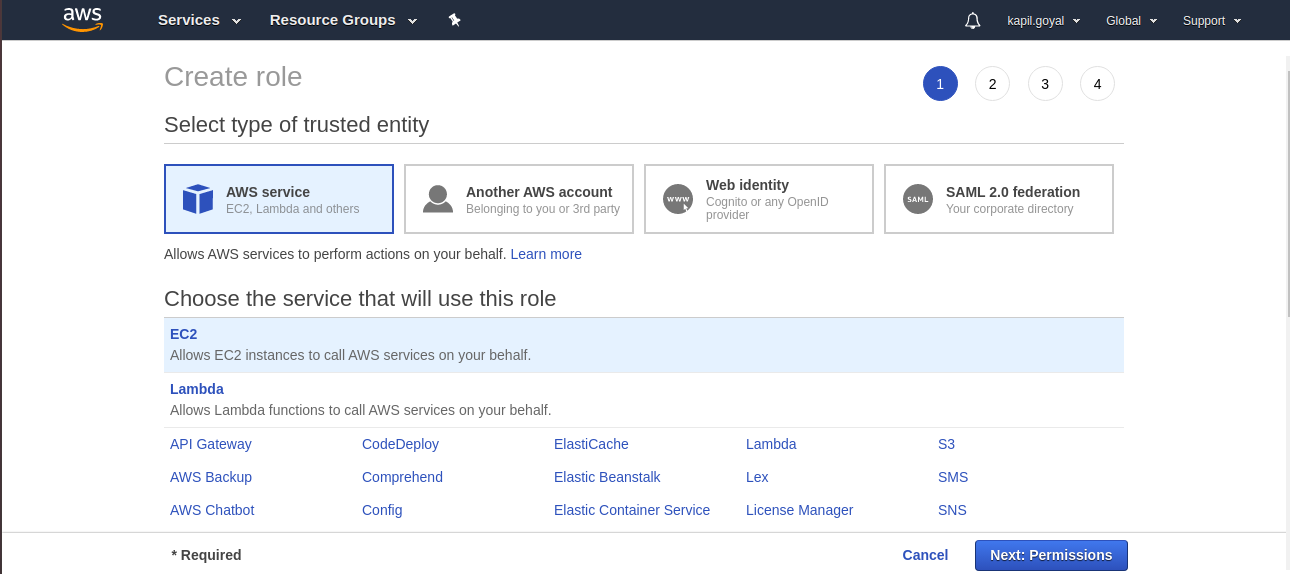
Step2: Select AWS Services (EC2) since EC2 is the service that will interact with CodeDeploy and click on Next: Permission.
Step3: In attach permissions policies search and select AWSCodeDeployRole and AmazonS3FullAccess. Now click on Next: Tags.

Step4: No tags require and click on Next: Review.
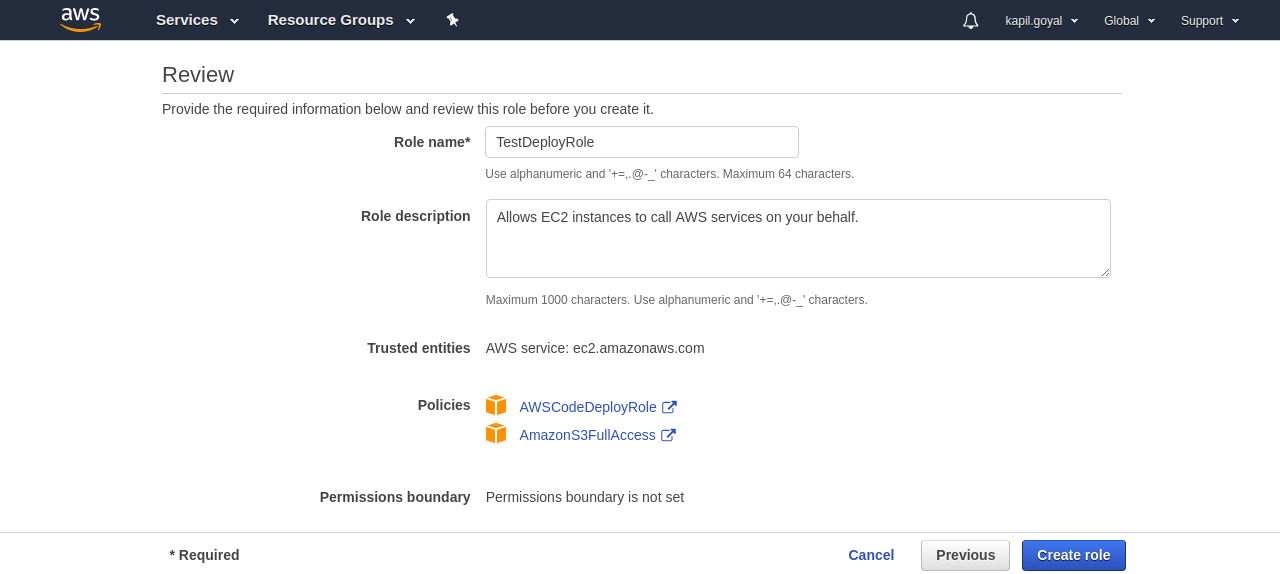
Step5: Now review section will open. Enter Role Name (I have entered TestDeployRole) and review the role’s information then click on Create Role.
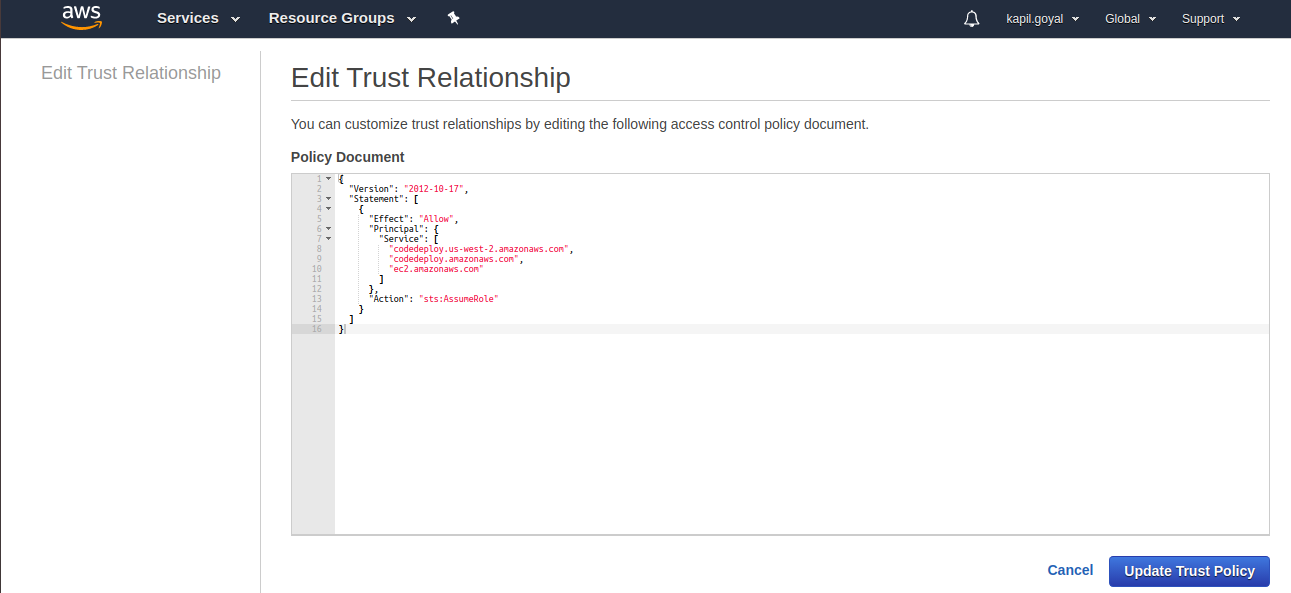
Step6: Goto newly created role, open Trust realtionships tab, Edit trust relationship and services should be “codedeploy.us-west-2.amazonaws.com”, “ec2.amazonaws.com” and “codedeploy.amazonaws.com” and update Trust Policy.

S3
Now need to create bucket to store the revisions of your application. A revision just an archive of whatever is required to run your code and the AppSpec file.
Step1: Goto S3 console and click on Create bucket.
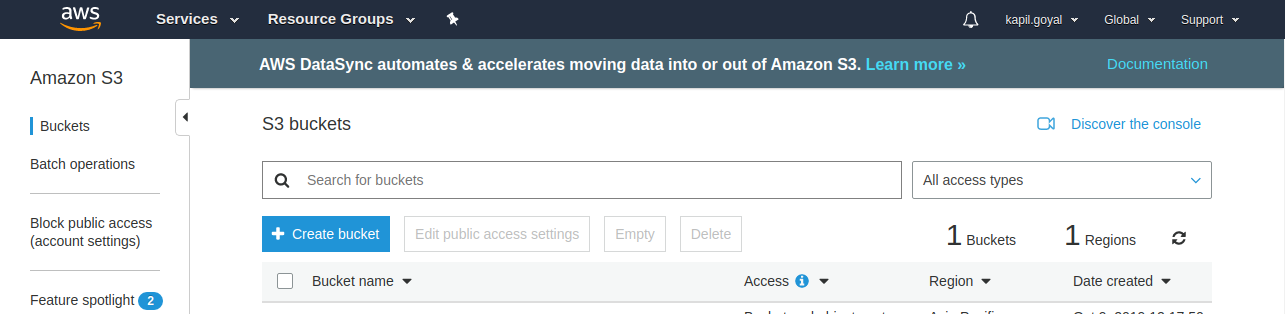
Step2: Enter Bucket name, select Region and click on Next.
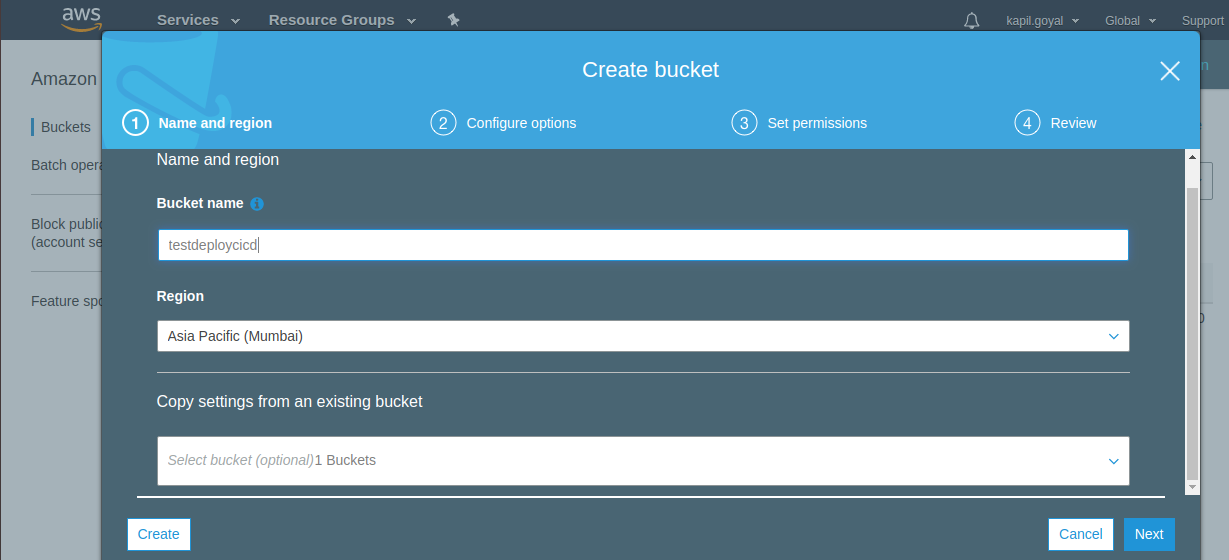
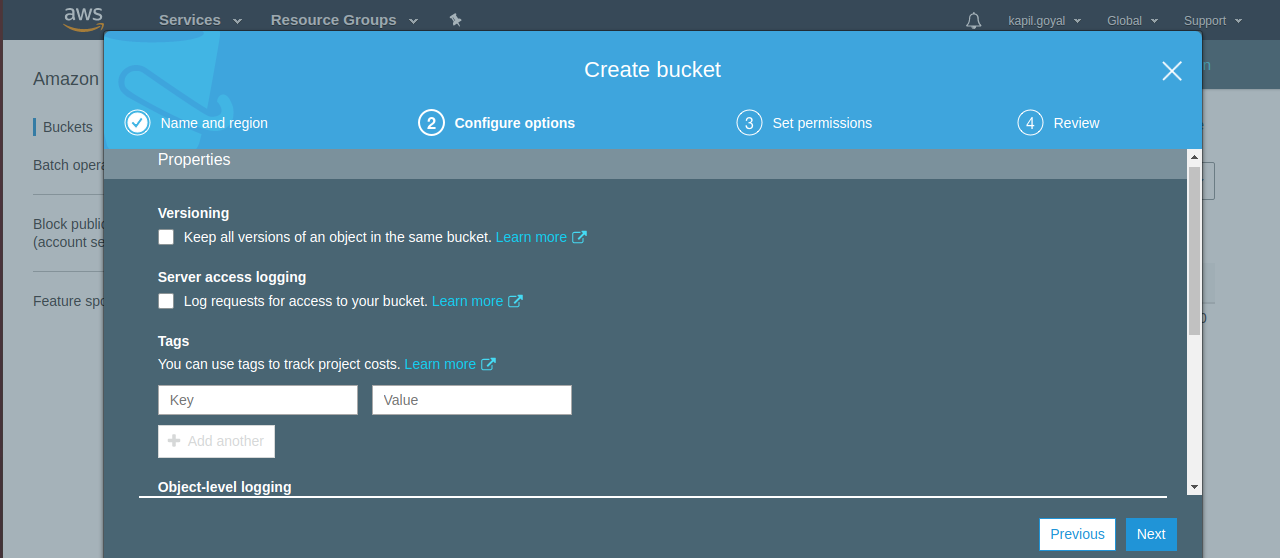
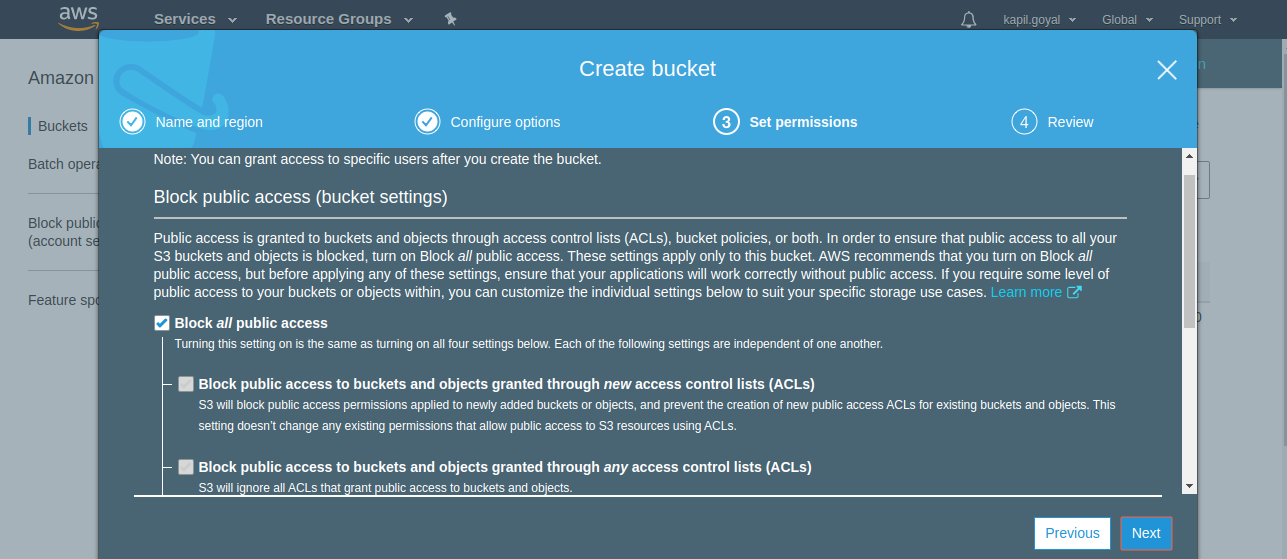
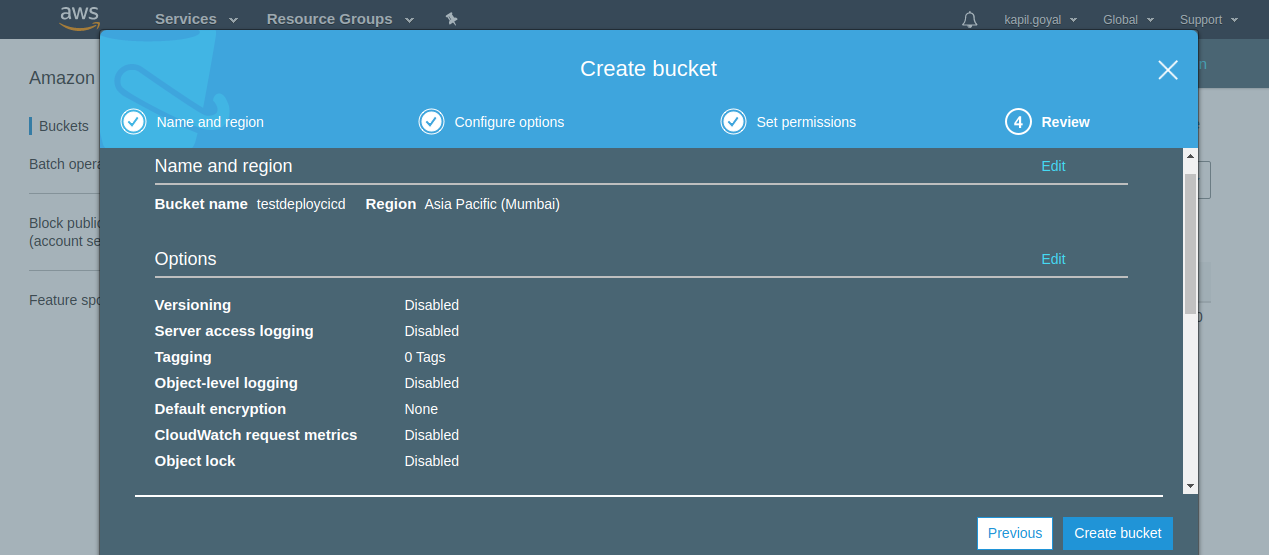
Step3: Leave default setting for Configure options, Set permissions and Review and click on Create bucket.
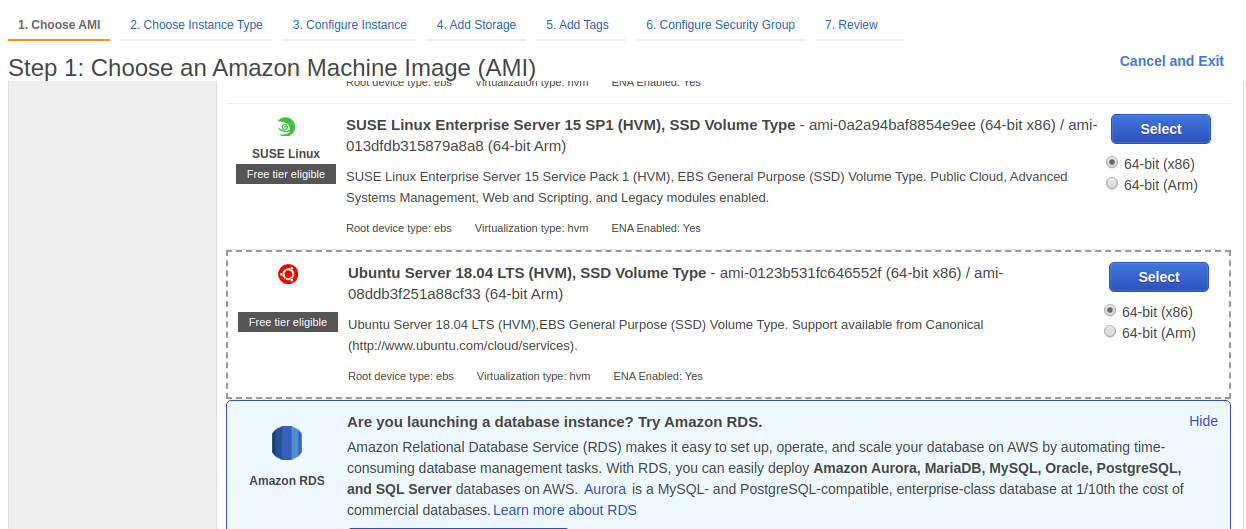
EC2
EC2 instance(s) need to be launched that CodeDeploy can use as deployment targets.
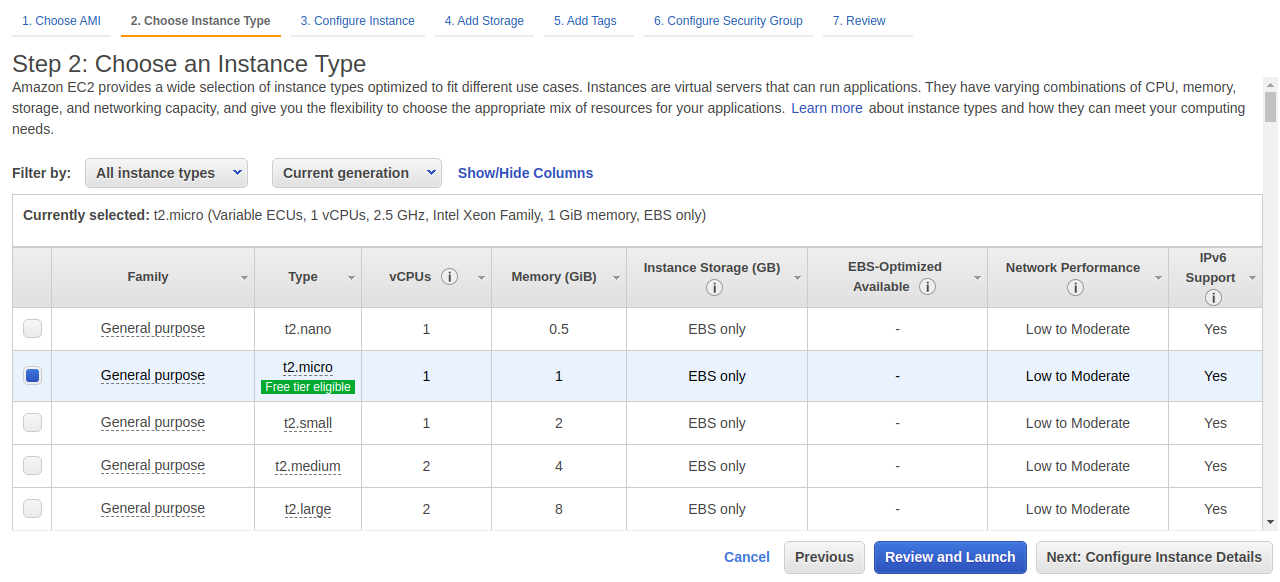
Create an EC2 Instance The OS can be as per your requirement. We will be using Ubuntu Server 18.04 LTS with t2.micro instance type.
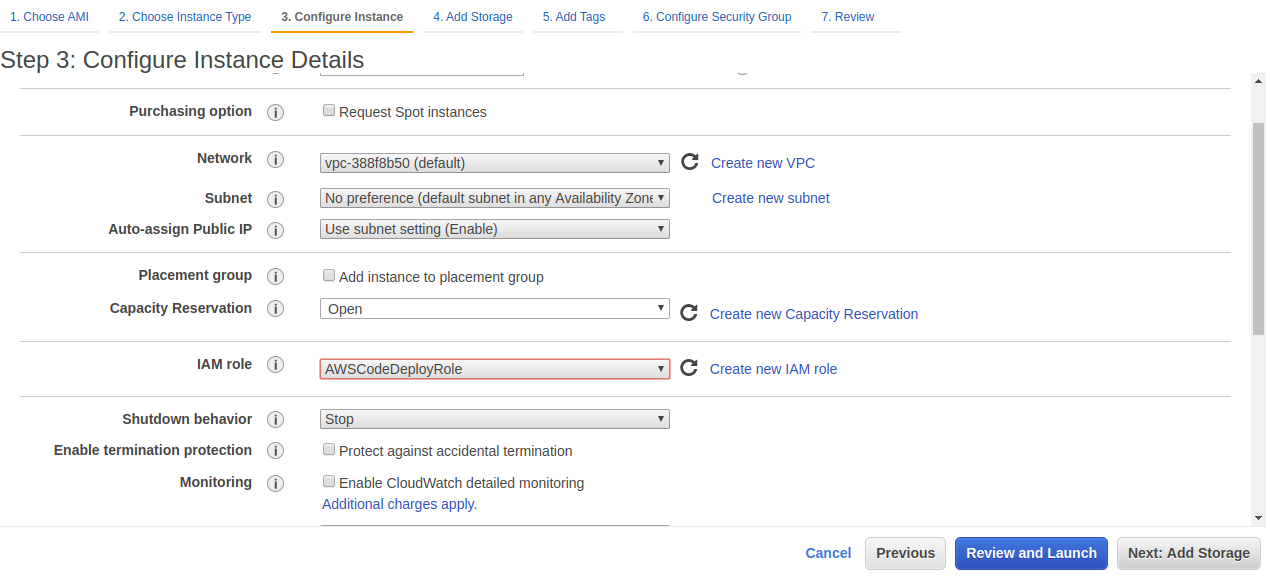
Configuration details are all default except for IAM role, which will be the role created earlier.
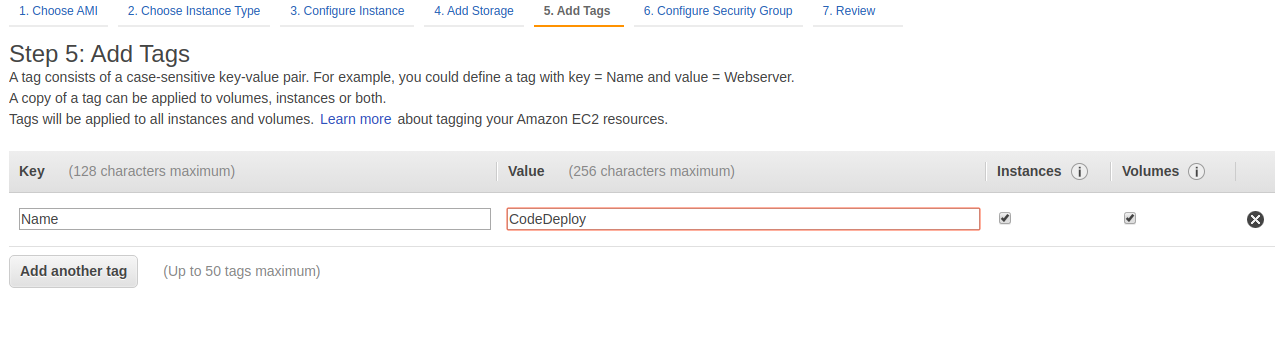
Deploy to recognize our instance it will look for tags, therefore we need to tag it so we’ll tag it say Name = CodeDeploy.
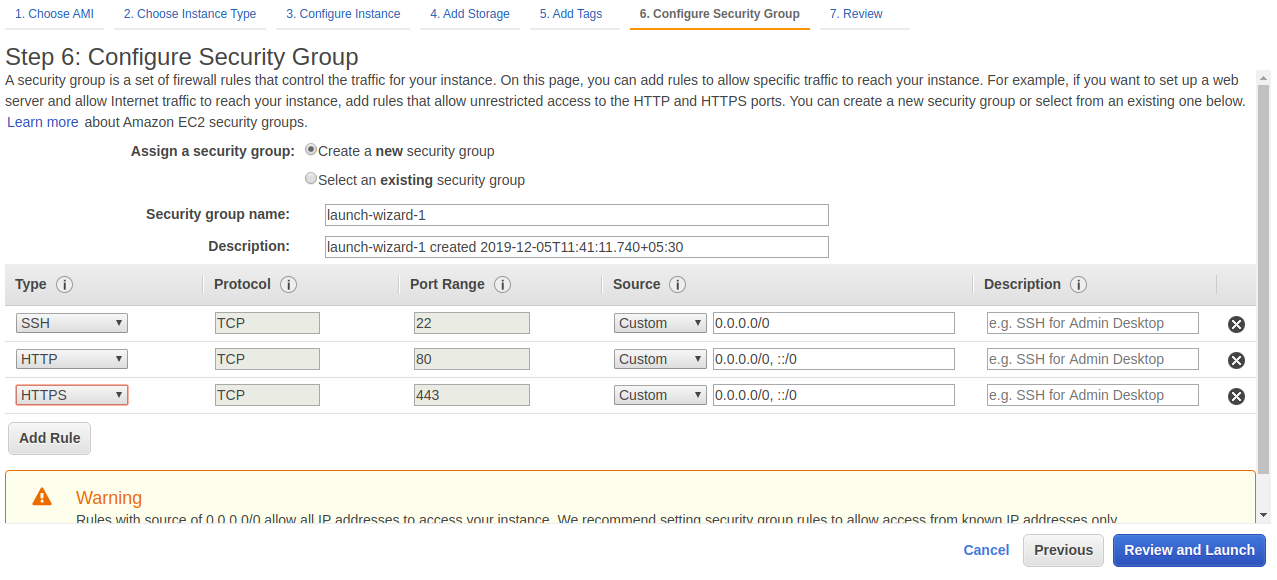
The security group should allow SSH and any ports you need in order to access your application.
CodeDeploy Applicatiom
The CodeDeploy agent needs to be installed on the instance. This agent is how CodeDeploy actually makes changes on the EC2 instance.
The key points with configuring EC2 is that an IAM role must be attached that allows EC2 to communicate with CodeDeploy, the CodeDeploy agent needs to be running on the instance(s), and the instance(s) needs to be tagged so that CodeDeploy can identify the instance(s) participating in deployments.
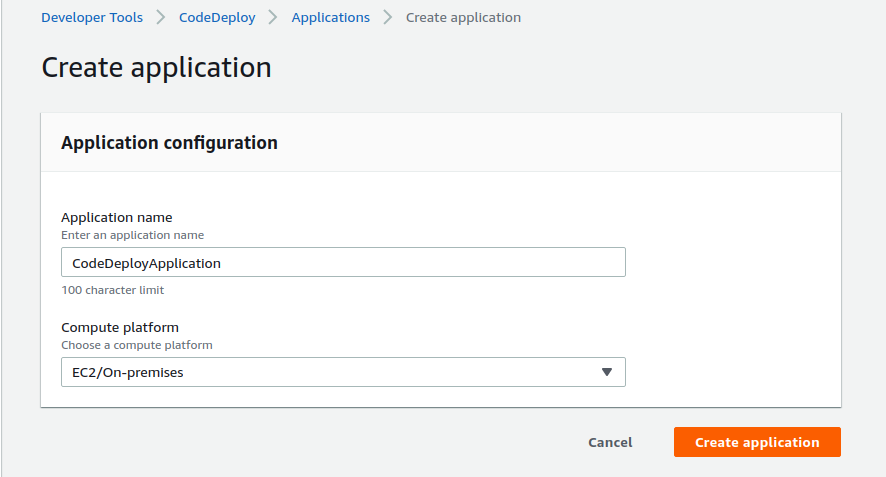
Go to AWS CodeDeploy Console and click on Create Application.
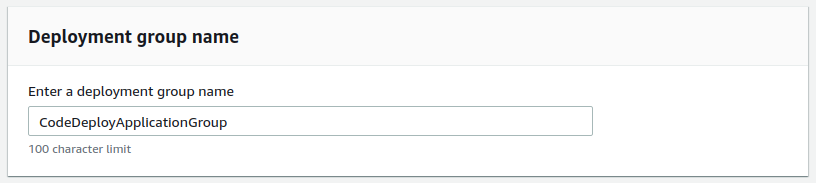
Now create deployment group with following configuration.
- Enter Deployment Group Name : CodeDeployApplicationGroup
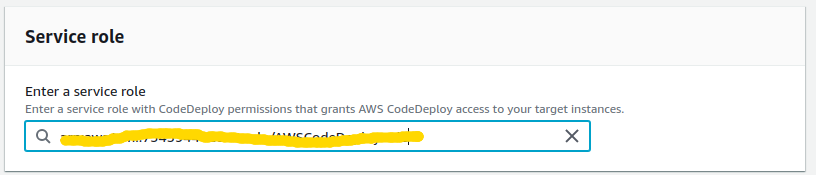
- Service Role : AWSCodeDeployRole (IAM role that was created earlier)
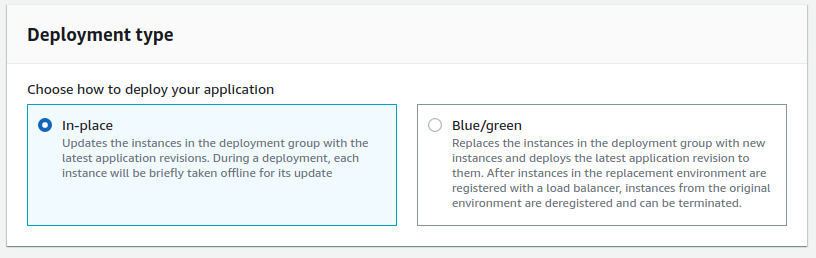
- Deployment Type : In Place
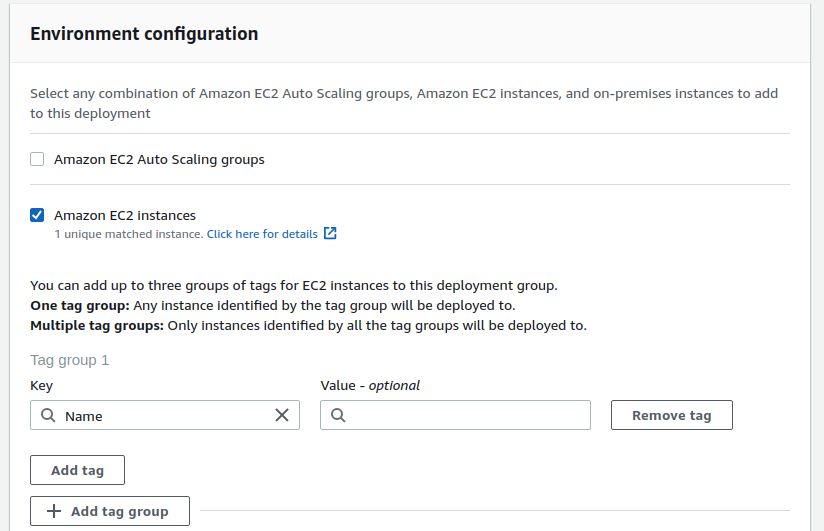
- Environment Configuration : Amazon EC2 Instance with tag (Tag that was created earlier)
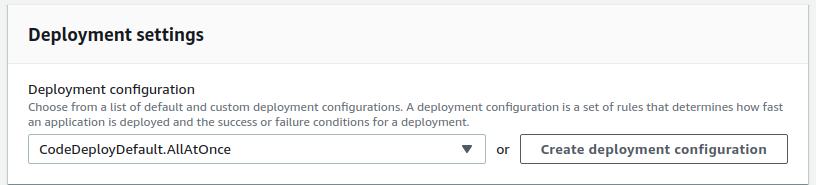
- Deployment Settings : CodeDeployDefault.AllAtOnce
Now create deployment group.
Bitbucket
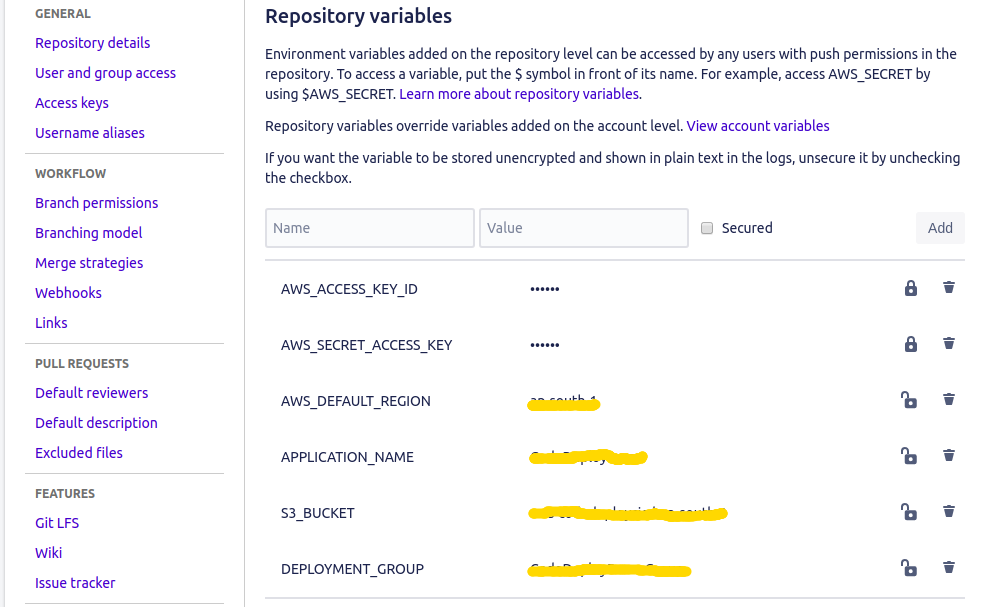
Now need to tell Bitbucket about all of this information. Set the following Environment Variables for the repository.
Pipeline
All things done and the only thing left is to build the pipeline to trigger CodeDeploy. This happens in three steps:.
- Deploy the revision to S3
- Tell CodeDeploy that a new revision is ready
- Wait for CodeDeploy to perform the deployment
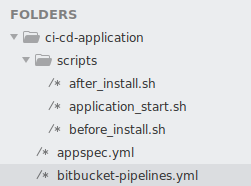
The root of your project directory will look like this
bitbucket-pipelines.yml
The first step is to write the bitbucket-pipelines.yml file. There’s nothing to do but create the revision to send to S3.
|
1 2 3 4 5 6 7 8 9 10 11 12 13 14 15 16 17 18 19 20 21 22 23 24 25 26 27 28 29 30 |
pipelines: branches: staging: - step: script: - apt-get install -y zip - zip -r application.zip . - pipe: atlassian/aws-code-deploy:0.2.7 variables: AWS_ACCESS_KEY_ID: $AWS_ACCESS_KEY_ID AWS_SECRET_ACCESS_KEY: $AWS_SECRET_ACCESS_KEY AWS_DEFAULT_REGION: $AWS_DEFAULT_REGION APPLICATION_NAME: $APPLICATION_NAME S3_BUCKET: $S3_BUCKET COMMAND: 'upload' ZIP_FILE: 'application.zip' VERSION_LABEL: 'react-app-1.0.0' - pipe: atlassian/aws-code-deploy:0.2.7 variables: AWS_ACCESS_KEY_ID: $AWS_ACCESS_KEY_ID AWS_SECRET_ACCESS_KEY: $AWS_SECRET_ACCESS_KEY AWS_DEFAULT_REGION: $AWS_DEFAULT_REGION APPLICATION_NAME: $APPLICATION_NAME DEPLOYMENT_GROUP: $DEPLOYMENT_GROUP S3_BUCKET: $S3_BUCKET WAIT: 'true' COMMAND: 'deploy' VERSION_LABEL: 'application-1.0.0' IGNORE_APPLICATION_STOP_FAILURES: 'true' FILE_EXISTS_BEHAVIOR: 'OVERWRITE' |
We have created a zip archive. This archive needs to contain all of the code and libraries required to run your application because this is the archive that is ultimately deployed.
Application Specification
appspec.yml is the CodeDeploy configuration. There are several lifecycle event hooks that can be configured here, but we will only worry about three. BeforeInstall, AfterInstall and ApplicationStart.
|
1 2 3 4 5 6 7 8 9 10 11 12 13 14 15 16 17 18 |
Version: 0.0.1 os: linux files: - source: / destination: /var/www/html hooks: BeforeInstall: - location: scripts/before_install.sh timeout: 300 runas: ubuntu AfterInstall: - location: scripts/after_install.sh timeout: 300 runas: ubuntu ApplicationStart: - location: scripts/application_start.sh timeout: 300 runas: ubuntu |
before_install.sh
|
1 2 3 4 |
sudo apt-get update sudo apt-get install nodejs -y sudo apt-get install npm -y sudo npm install forever -g |
after_install.sh
|
1 2 |
cd /var/www/ci-cd-react sudo npm install |
application_start.sh
|
1 2 3 4 |
sudo rm -rf /var/www/ci-cd-react/build sudo npm run build forever stopall forever start -c "node -r esm" Server.js |
Run the Pipeline
At this point we are ready to push everything to Bitbucket and start the pipeline.
After pushing changes to Bitbucket go to the pipeline section of your repository you will be able to see a pipeline triggered.