How to start with Flutter
- Mobile
How to start with Flutter
How to start with Flutter

Flutter is an open-source cross-platform that is developed by Google. We can create mobile applications (Android/IOS), Web applications, Desktop applications (Windows/Linux/MacOs) with a single code base. Flutter uses the Dart language for development. How excited is this, right !
So now, I think you are so excited to start with Flutter but WAIT, before starting any new technology we should have to know the setup process for the same. So, here I am for guiding you with the setup process of Flutter on your machine.
The things that we are going to talk about in this blog are:
- Initial configuration requirements.
- Installing Flutter SDK.
- Global path setup for the SDK.
- IDE setup for Flutter development.
- Basic marketplace libraries that are good to have.
- Checking the path has been set correctly or not.
- Create a simple application of an increment counter.
- How to run the App.
1. Initial configuration requirements:
First, open this official flutter dev link-
https://flutter.dev/docs/get-started/install
You will see a page like this.
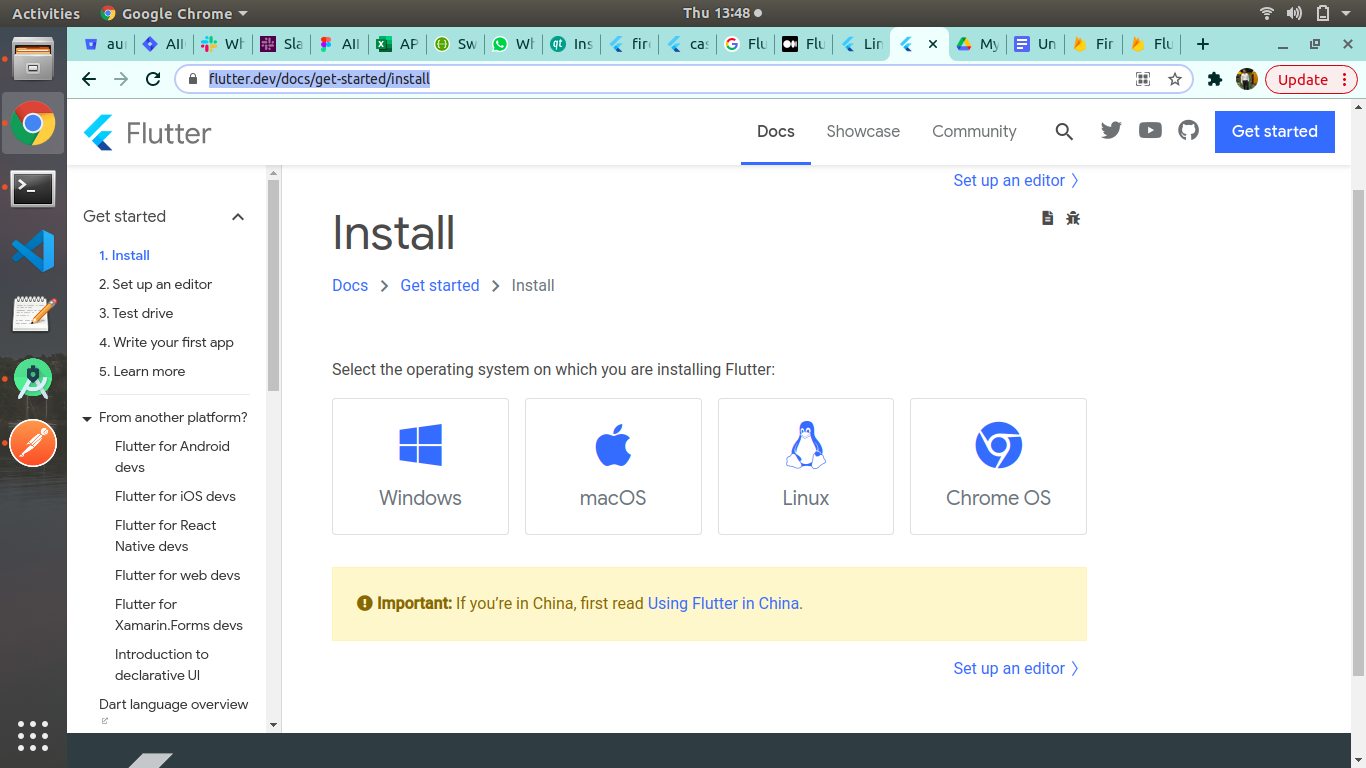
Here you can see the installation process for different platforms like Windows, macOS, Linux, etc. But in this particular blog, we will discuss the Linux platform only.
System requirements
- Operating System: Linux(Ubuntu / 64-bit.)
- Disk Space: The space required for installation is 600 MB without including any IDE tools.
- IDEs : Android Studio, Visual Studio, Xcode.
- Tools: Flutter depends on these command-line tools being available in your environment.
-> bash
-> curl
2. Installing Flutter SDK:
Installing Flutter using snapd:
The easiest way to install the flutter on a Linux machine is by the command-line interface. You have to install the snapd first if you don’t have it. For installing the snapd please run the following command in your terminal.
|
1 2 3 |
$ sudo apt update $ sudo apt install snapd |
To test your system, install the hello-world snap and make sure it runs correctly:
|
1 |
$ sudo snap install hello-world |
hello-world 6.4 from Canonical✓ installed
|
1 |
$ hello-world |
Hello World!
Installing Flutter manually:
If you don’t want to install snapd then follow these steps:
- Open this link- https://flutter.dev/docs/get-started/install/linux
- Download the available installation stable release bundle for the latest Flutter SDK.
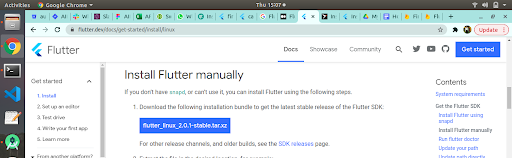
Click on the given flutter SDK link as shown in the above image. After downloading the latest Flutter SDK, unzip or extract the .tar package on your preferred location. For example, I have extracted the package in the download folder itself.
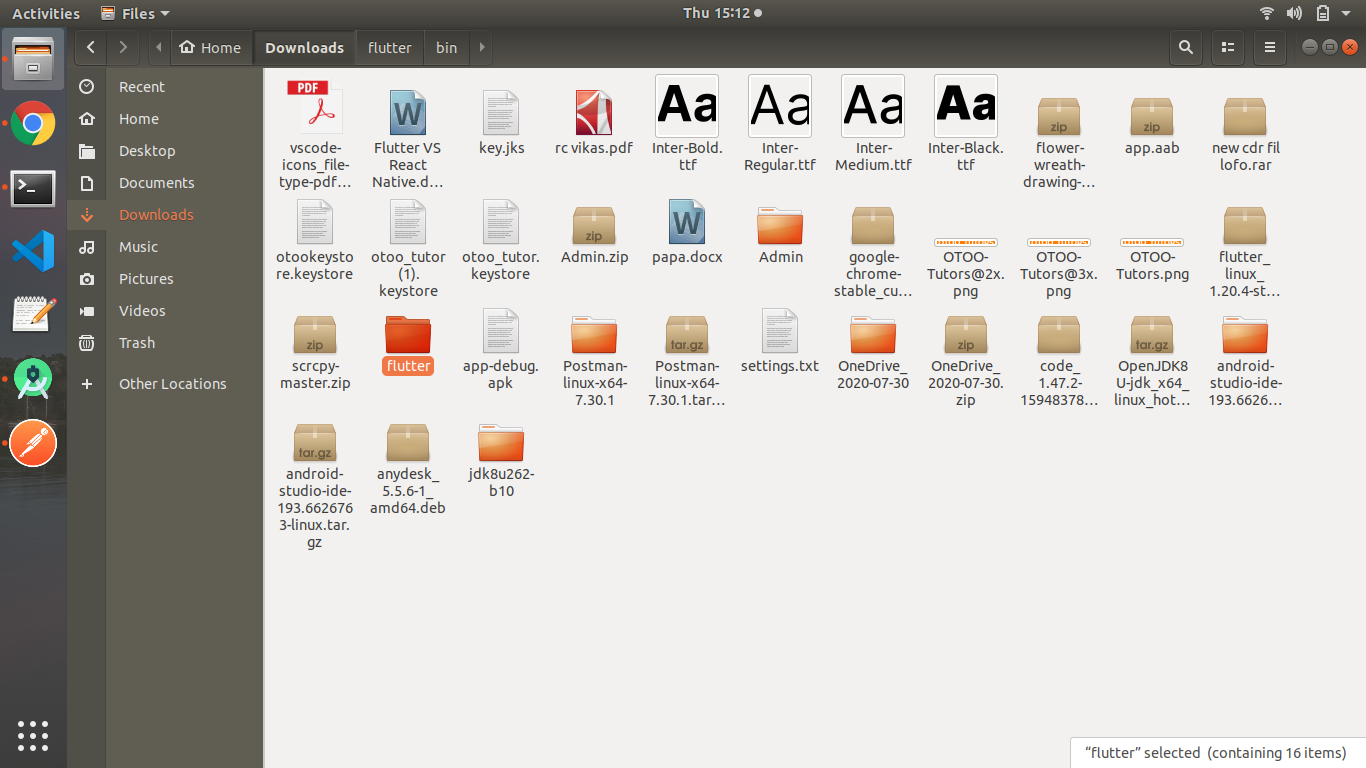
As you can see in the above picture, I have downloaded the flutter_linux_1.20.4-stable.tar.xz folder at the below location:
/home/auriga/Downloads/flutter_linux_1.20.4-stable.tar.xz
And extracted the .tar folder at the same location by clicking on the .tar folder and select Extract Here option.
Or you can run the following command for unzipping the folder. Go to the Downloads folder and open the terminal there then run
|
1 |
$ tar xf ~/Downloads/flutter_linux_1.20.4-stable.tar.xz |
3. Global path setup for the SDK:
Now we are done with the SDK download process. Now we have to set the SDK’s path on the machine globally, so we can run any of the commands from everywhere in the machine.
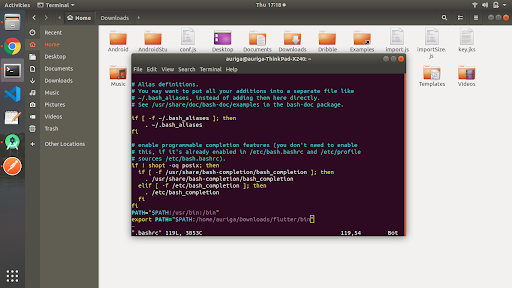
Open (or create) the rc file for your shell. For example, Linux uses the Bash shell by default, so edit $HOME/.bashrc. If you are using a different shell, the file path and filename will be different on your machine.
Go to the home directory and then for initializing the path open the terminal and run the below command.
|
1 |
$ vim .bashrc |
For saving this file press :qa and press enter.
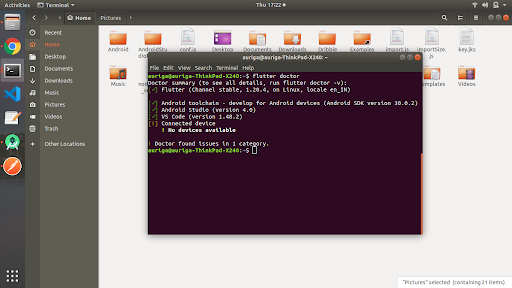
Hurray !!! Your SDK path is set now. For check the path availability open the terminal anywhere and type flutter doctor command. If you get some output like the below page then you are ready to go for the other steps.
4. IDE Setup for Flutter development:
We have different IDEs for the flutter development. For example Android Studio, XCode, Visual Studio. Visual studio is a light-weighted IDE and all the marketplace plugins are available now for flutter. But I am using Android Studio because it’s a much advanced and powerful tool that reduces development time.
First, download the android studio if you don’t have it from this link –
https://developer.android.com/studio
After downloading the Android Studio, we have to set the SDK path for the Android Studio too. Before setting up the path we will install some marketplace plugins. I am suggesting you download the below 3 plugins which I feel really helpful and important.
- Dart
- Flutter
- Flutter Intl
For getting these plugins open the Android studio -> File -> settings -> plugins.

In my case, I have already downloaded the plugins, as you can see the Installed plugins. You guys please select the Marketplace option and search for these plugins.
Now close the Android Studio and restart. For setting up the SDK path go to file option and then go to new then select new flutter project.
File -> new -> new flutter project
After selecting these options you will see a window like this.
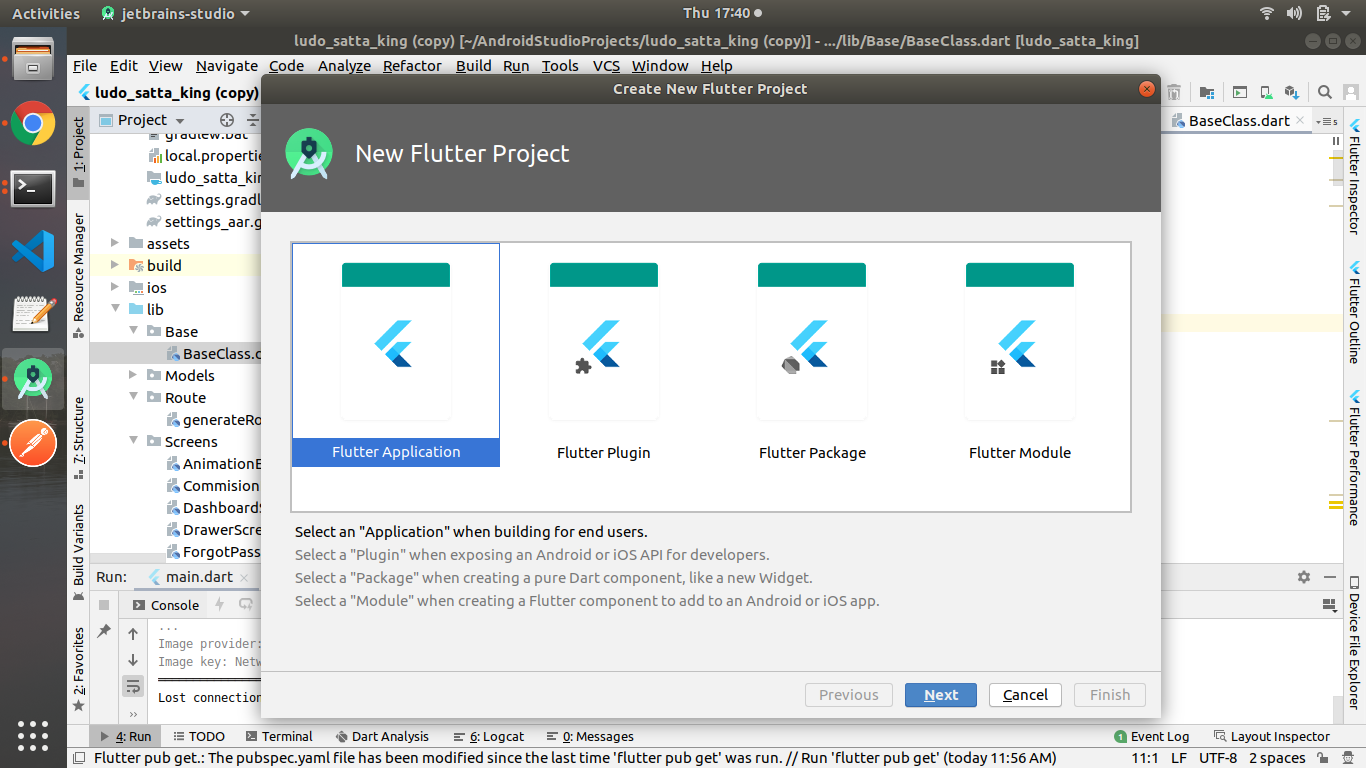
Select the Flutter Application option and click on Next. After clicking next you will see a box where you will give the Flutter SDK path location. The next POP-UP window will look like this.
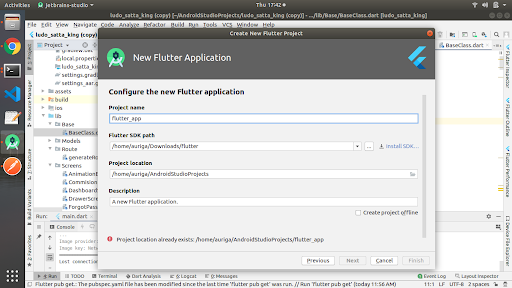
Here you can see an option of Flutter SDK path. Here provide your Flutter SDK path.
TAAADDAAA!!!! Successfully done with the IDE setup. Now You are ready to go with the development.
5. Basic marketplace libraries that are good to have:
There are some marketplace libraries that make development easy for us. It’s good to have these libraries in our IDE. In the above section, we have already learned how to download the marketplace plugins. So, here we only talk about some useful plugins to have in our project.
- Dart
- Flutter
- Flutter Intl
- YAML
6. Checking the path has been set correctly or not:
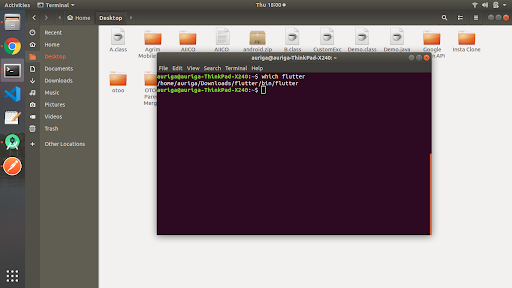
For checking up the Flutter SDK path just type which flutter on the terminal and if you see your SDK path location correctly then you are on the right path.
7. Create a simple application of an increment counter:
The easiest way of creating a flutter project is by using the terminal. Open the terminal where you want to create the project and run the following command:
|
1 |
$ flutter create project_name |
Specify your project name and it’s done. Now open the folder in any IDE and start coding.
Open the Android Studio -> File -> New -> New Flutter Project. Once you are done with these steps you will see a project created for you with the name given by you while creating the project.
The coding-related folder where we create all the related classes, defines the functions, create awesome UI in the lib folder. In your created project you can see the lib folder there which contains the main.dart file.
In the main.dart file the first function you see is the void main(). The void main function is the main start function which starts the process of creating the program. It works exactly the same as JAVA public static void main().
In the main() one more function is called that is runApp(). This function starts building the widget tree. The class MyApp is initialized in this function that will work as the main root widget of the whole program.

The increment counter program already made for you. Now it’s time to run the application.
8. How to run the App:
It’s time to run the application. It is very simple to run the flutter application in Android studio. You just have to press the play button that is situated on the studio’s top bar (run the main.dart file) and the compiler will start building the app.
![]()
The other method of running the application is the command. We can run the application on android and ios devices by running a simple command.
Go to the project main folder, open the terminal and run the below command
|
1 |
$ flutter run |
This command will automatically detect the device and play the app on both platforms. This will build the assemble .apk in the case of android.
While your app is running, you can see another option near the play button and that is for the Hot Reload.
Flutter’s most useful feature is the Hot Reloading. Change into your code and just hot reload the application and BOOMMM, all the changes are visible without building the package again. This feature saves a lot of time while working on a project.
So, now you are ready to sail your boat in the ocean of Flutter. Explore the world of flutter and enjoy.