Database Migrations in Spring Boot With Flyway
- General
Database Migrations in Spring Boot With Flyway
Introduction
Flyway is the Apache v2 licensed open-source tool that makes database migrations easy. You can think of Flyway as version control for your database. It lets you evolve your database schema easily and reliably across all your instances.
Flyway updates a database from one version to the next using migrations. We can write migrations either in SQL with database-specific syntax or in Java for advanced database transformations.
Migrations can either be versioned or repeatable. The former has a unique version and is applied exactly once. The latter does not have a version. Instead, they are (re-)applied every time their checksum changes.
Within a single migration run, repeatable migrations are always applied last, after pending versioned migrations have been executed. Repeatable migrations are applied in order of their description. For a single migration, all statements are run within a single database transaction.
Installation
Add the Flyway dependency to your pom.xml or build.gradle if you’re using Gradle instead of Maven.
Maven:
|
1 2 3 4 5 |
<dependency> <groupId>org.flywaydb</groupId> <artifactId>flyway-core</artifactId> <version>7.8.2</version> </dependency> |
Gradle:
|
1 |
implementation ‘org.flywaydb:flyway-core:7.8.2 |
Spring Boot will then automatically autowire Flyway with its DataSource and invoke it on startup. Adding plugin with Spring Boot is optional
Maven Plugin:
|
1 2 3 4 5 |
<plugin> <groupId>org.flywaydb</groupId> <artifactId>flyway-maven-plugin</artifactId> <version>7.8.2</version> </plugin> |
Gradle Plugin:
|
1 2 3 |
plugins { id “org.flywaydb.flyway” version “7.8.2” } |
Creating the Application
Let’s use Spring Boot CLI to generate the application. Fire up your terminal and type the following command to generate the project.
|
1 |
$ spring init --name=flyway-demo --dependencies=web,mysql,data-jpa,flyway flyway-demo |
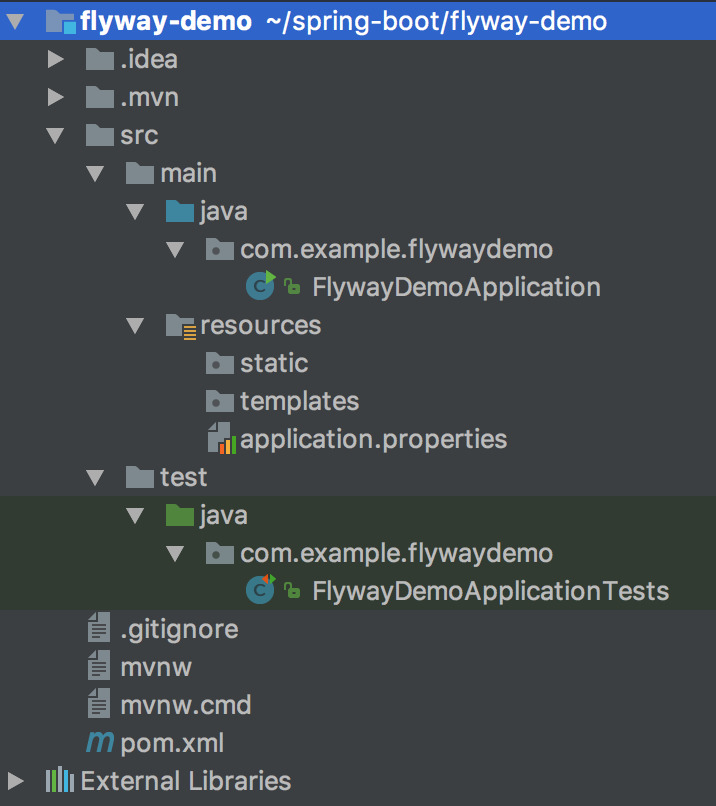
Once the project is generated, import it into your favorite IDE. The directory structure of the application would look like this –
Configuring MySQL and Hibernate
First, create a new MySQL database named flyway_demo.
Then Open src/main/application.properties file and add the following properties to it –
|
1 2 3 4 5 6 7 8 9 10 11 12 13 14 |
## Spring DATASOURCE (DataSourceAutoConfiguration & DataSourceProperties) spring.datasource.url = jdbc:mysql://localhost:3306/flyway_demo?useSSL=false spring.datasource.username = root spring.datasource.password = root ## Hibernate Properties # The SQL dialect makes Hibernate generate better SQL for the chosen database spring.jpa.properties.hibernate.dialect = org.hibernate.dialect.MySQL5InnoDBDialect ## This is important # Hibernate ddl auto (create, create-drop, validate, update) spring.jpa.hibernate.ddl-auto = validate |
Please change spring.datasource.username and spring.datasource.password as per your MySQL installation.
The property spring.jpa.hibernate.ddl-auto is important. It tries to validate the database schema according to the entities that you have created in the application and throws an error if the schema doesn’t match the entity specifications.
Creating a Domain Entity
Let’s create a simple Entity in our application so that we can create and test flyway migration for this entity.
First, Create a new package called domain inside com.example.flywaydemo package. Then, create the following User.java file inside com.example.flywaydemo.domain package –
|
1 2 3 4 5 6 7 8 9 10 11 12 13 14 15 16 17 18 19 20 21 22 23 24 25 26 27 28 29 30 31 32 33 34 35 36 37 38 39 40 41 42 43 44 45 46 47 48 49 50 51 52 53 54 55 56 57 58 59 |
package com.example.flywaydemo.domain; import javax.persistence.*; import javax.validation.constraints.NotBlank; import javax.validation.constraints.Size; @Entity @Table(name = "users") public class User { @Id @GeneratedValue(strategy = GenerationType.IDENTITY) private Long id; @NotBlank @Column(unique = true) @Size(min = 1, max = 100) private String username; @NotBlank @Size(max = 50) private String firstName; @Size(max = 50) private String lastName; public Long getId() { return id; } public void setId(Long id) { this.id = id; } public String getUsername() { return username; } public void setUsername(String username) { this.username = username; } public String getFirstName() { return firstName; } public void setFirstName(String firstName) { this.firstName = firstName; } public String getLastName() { return lastName; } public void setLastName(String lastName) { this.lastName = lastName; } } |
Creating a Flyway Migration script
Flyway tries to read database migration scripts from classpath:db/migration folder by default.
All the migration scripts must follow a particular naming convention – V<VERSION_NUMBER>__<NAME>.sql. Checkout the Official Flyway documentation to learn more about naming conventions.
Let’s create our very first database migration script. First, Create the db/migration folder inside src/main/resources directory –
|
1 |
$ mkdir -p src/main/resources/db/migration |
Now, create a new file named V1__init.sql inside src/main/resources/db/migration directory and add the following sql scripts –
|
1 2 3 4 5 6 7 8 |
CREATE TABLE users ( id bigint(20) NOT NULL AUTO_INCREMENT, username varchar(100) NOT NULL, first_name varchar(50) NOT NULL, last_name varchar(50) DEFAULT NULL, PRIMARY KEY (id), UNIQUE KEY UK_username (username) ) ENGINE=InnoDB DEFAULT CHARSET=utf8; |
Running the Application
When you run the application, flyway will automatically check the current database version and apply any pending migrations.
Run the app by typing the following command in terminal –
|
1 |
mvn spring-boot:run |
When running the app for the first time, you’ll see the following logs pertaining to Flyway, which says that it has migrated the schema to version 1 – init.

How does Flyway manage migrations?
Flyway creates a table called flyway_schema_history when it runs the migration for the first time and stores all the meta-data required for versioning the migrations in this table.
|
1 2 3 4 5 6 7 8 |
mysql> show tables; +-----------------------+ | Tables_in_flyway_demo | +-----------------------+ | flyway_schema_history | | users | +-----------------------+ 2 rows in set (0.00 sec) |
You can check the contents of flyway_schema_history table in your mysql database –
|
1 2 3 4 5 6 7 |
mysql> select * from flyway_schema_history; +----------------+---------+-------------+------+--------------+------------+--------------+---------------------+----------------+---------+ | installed_rank | version | description | type | script | checksum | installed_by | installed_on | execution_time | success | +----------------+---------+-------------+------+--------------+------------+--------------+---------------------+----------------+---------+ | 1 | 1 | init | SQL | V1__init.sql | 1952043475 | root | 2018-03-06 11:25:58 | 16 | 1 | +----------------+---------+-------------+------+--------------+------------+--------------+---------------------+----------------+---------+ 1 row in set (0.00 sec) |
It stores the current migration’s version, script file name, and checksum among other details in the table.
When you run the app, Flyway first validates the already applied migration scripts by calculating their checksum and matching it with the checksum stored in the meta-data table.
So, If you change V1__init.sql after the migration is applied, Flyway will throw an error saying that the checksum doesn’t match.
Therefore, for doing any changes to the schema, you need to create another migration script file with a new version V2__<NAME>.sql and let Flyway apply that when you run the app.
Conclusion
That’s all folks! In this article, You learned how to integrate Flyway in a Spring Boot application for versioning database changes.
Thank you for reading. See you in the next blog post.